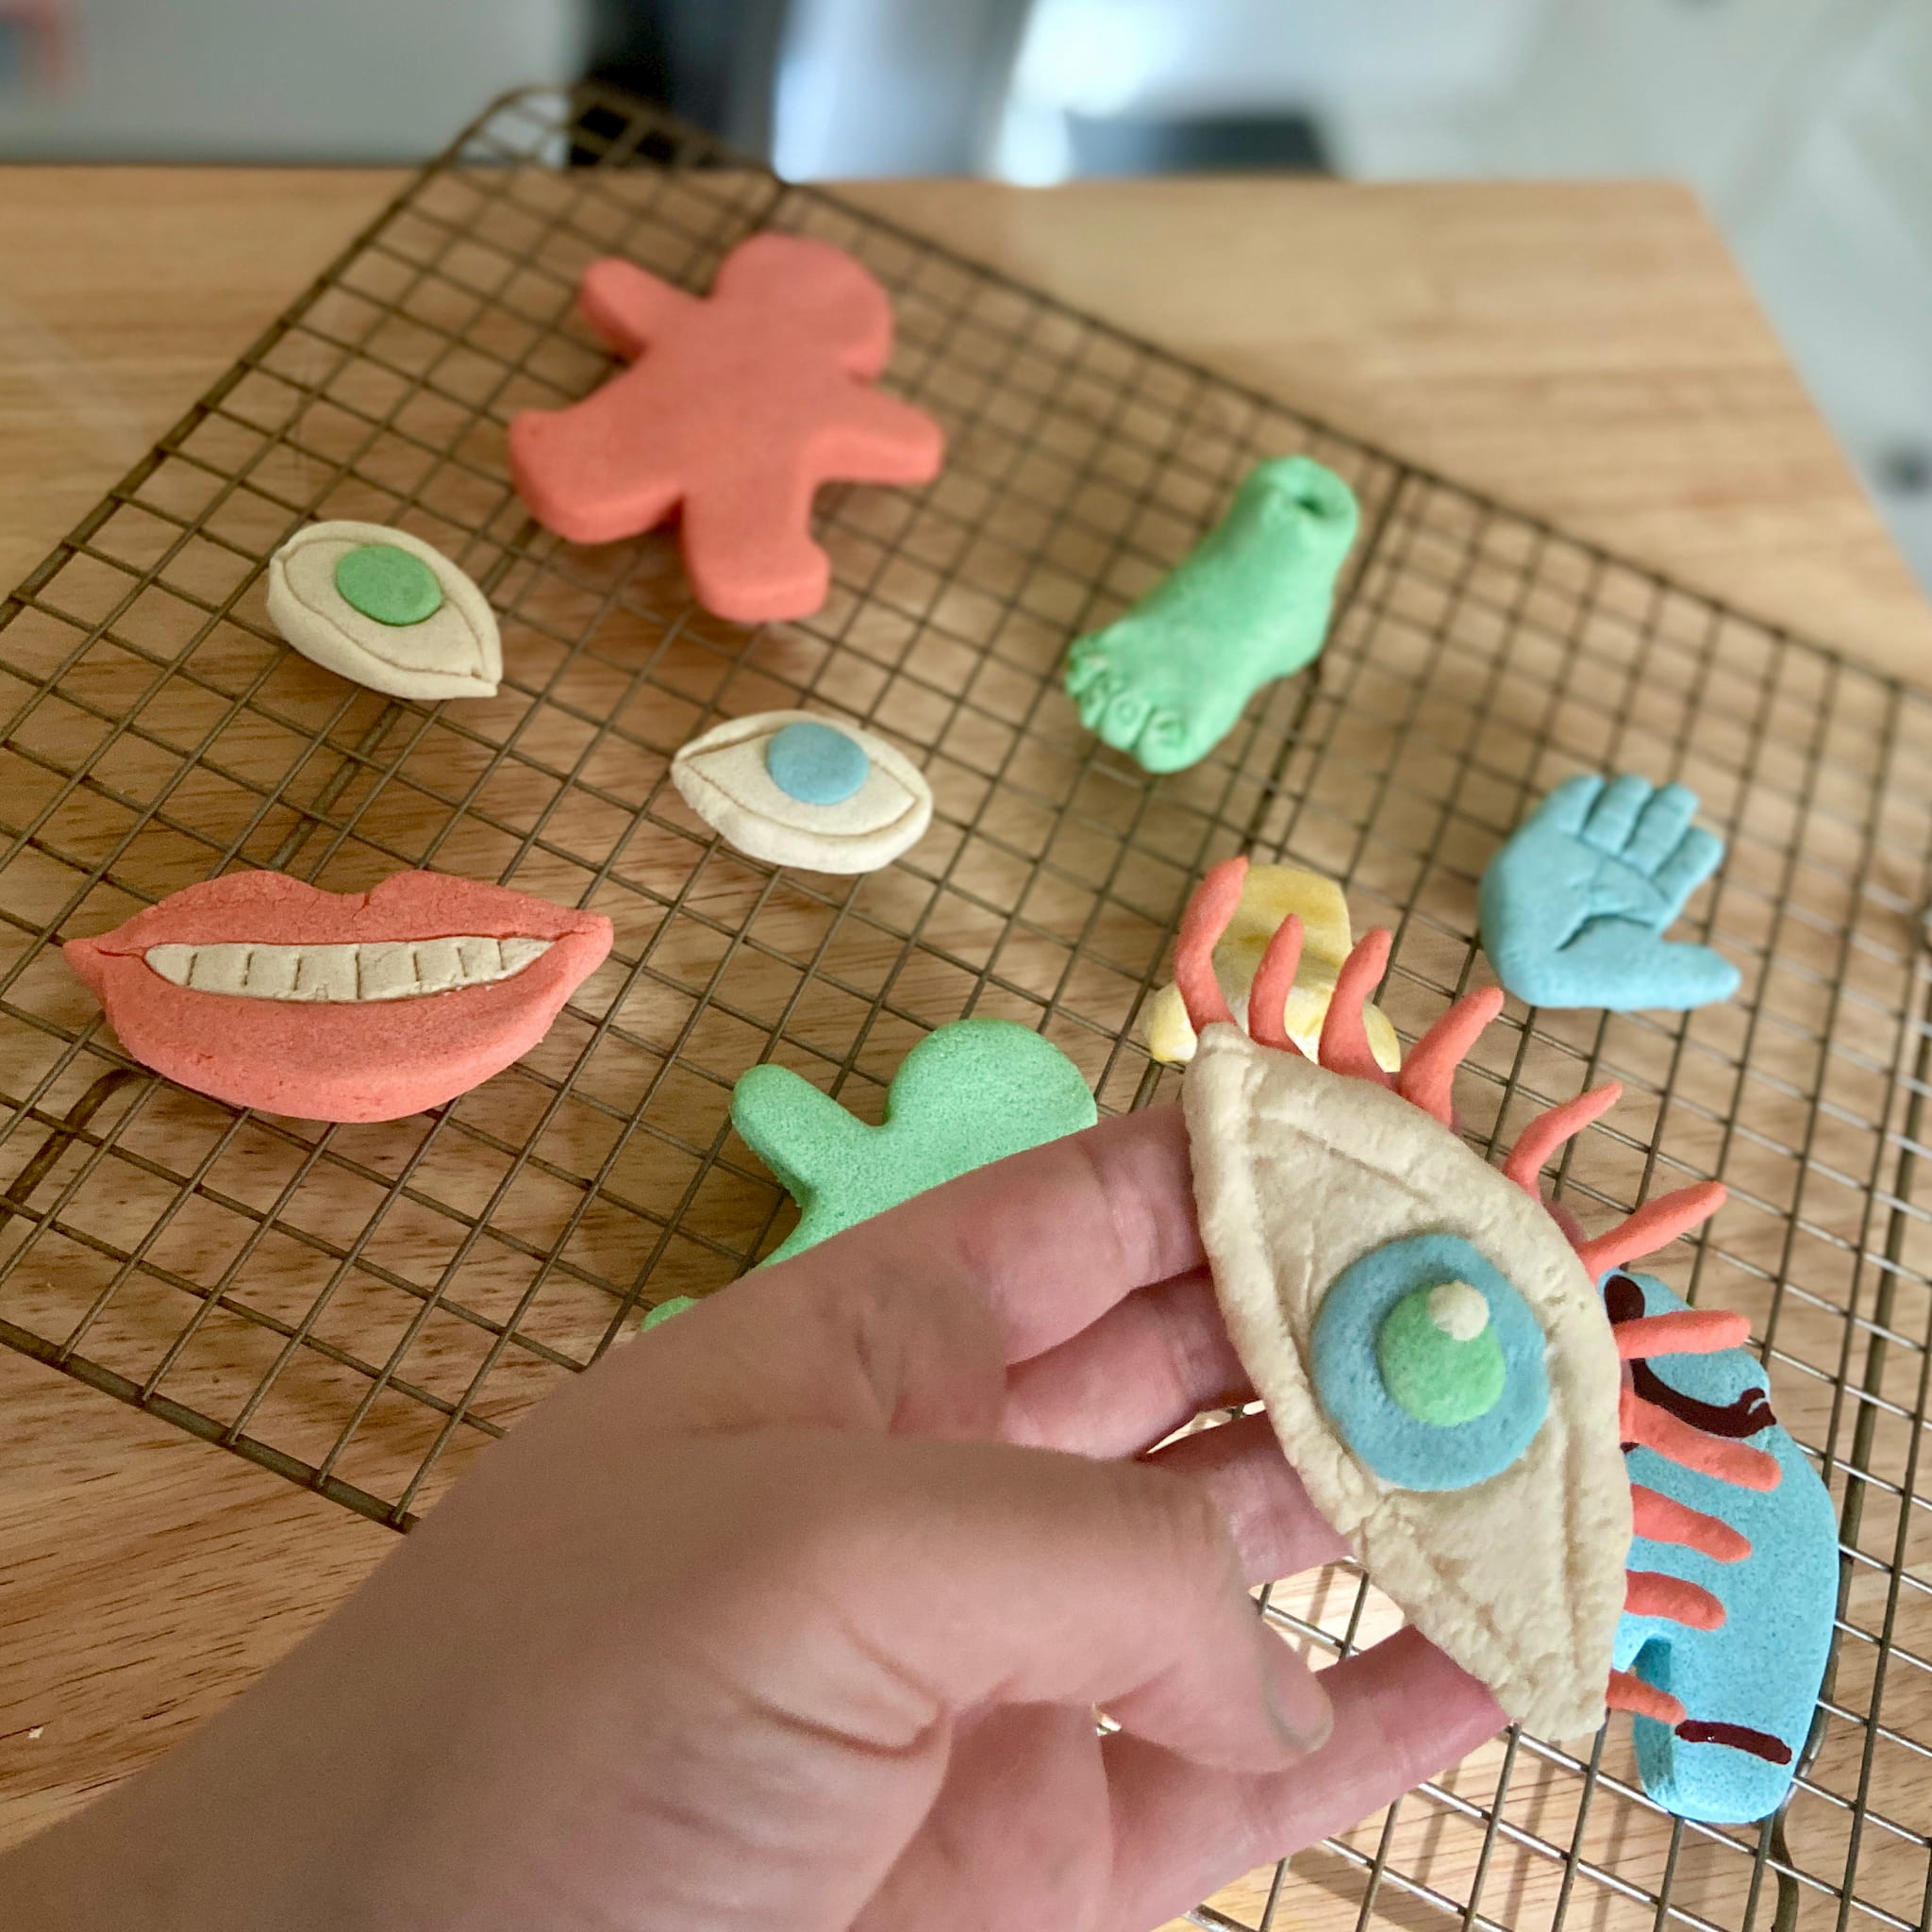
Craft for Kids: Make Your Own Clay & Sculpt Away!
Cristina Córdova explores the human figure, and all of the expressions and emotion that can be found within. Using clay as her medium, she allows the material to guide her through the act of sculpting, finding the character as she moves through her process.
In this hands-on activity, make your own “clay” from materials in your pantry, and sculpt your own expressive features with this easy salt dough recipe. You can craft facial features, different parts of the human form, or an entire figure!
Watch the video from our IDENTITY episode below about Córdova’s life and work for inspiration, and see what expressive characters you can sculpt as you craft at home.
Treasure Hunt: Watch closely! Check off these visual clues as you find them in the video.
- A woman among ferns
- Trio of photos on a studio wall
- A pool of sunken ships
- Using vinegar as a tool
- A mural featuring a flying animal
—————
Hands-on Activity: Make your own clay, and craft your own human sculptures
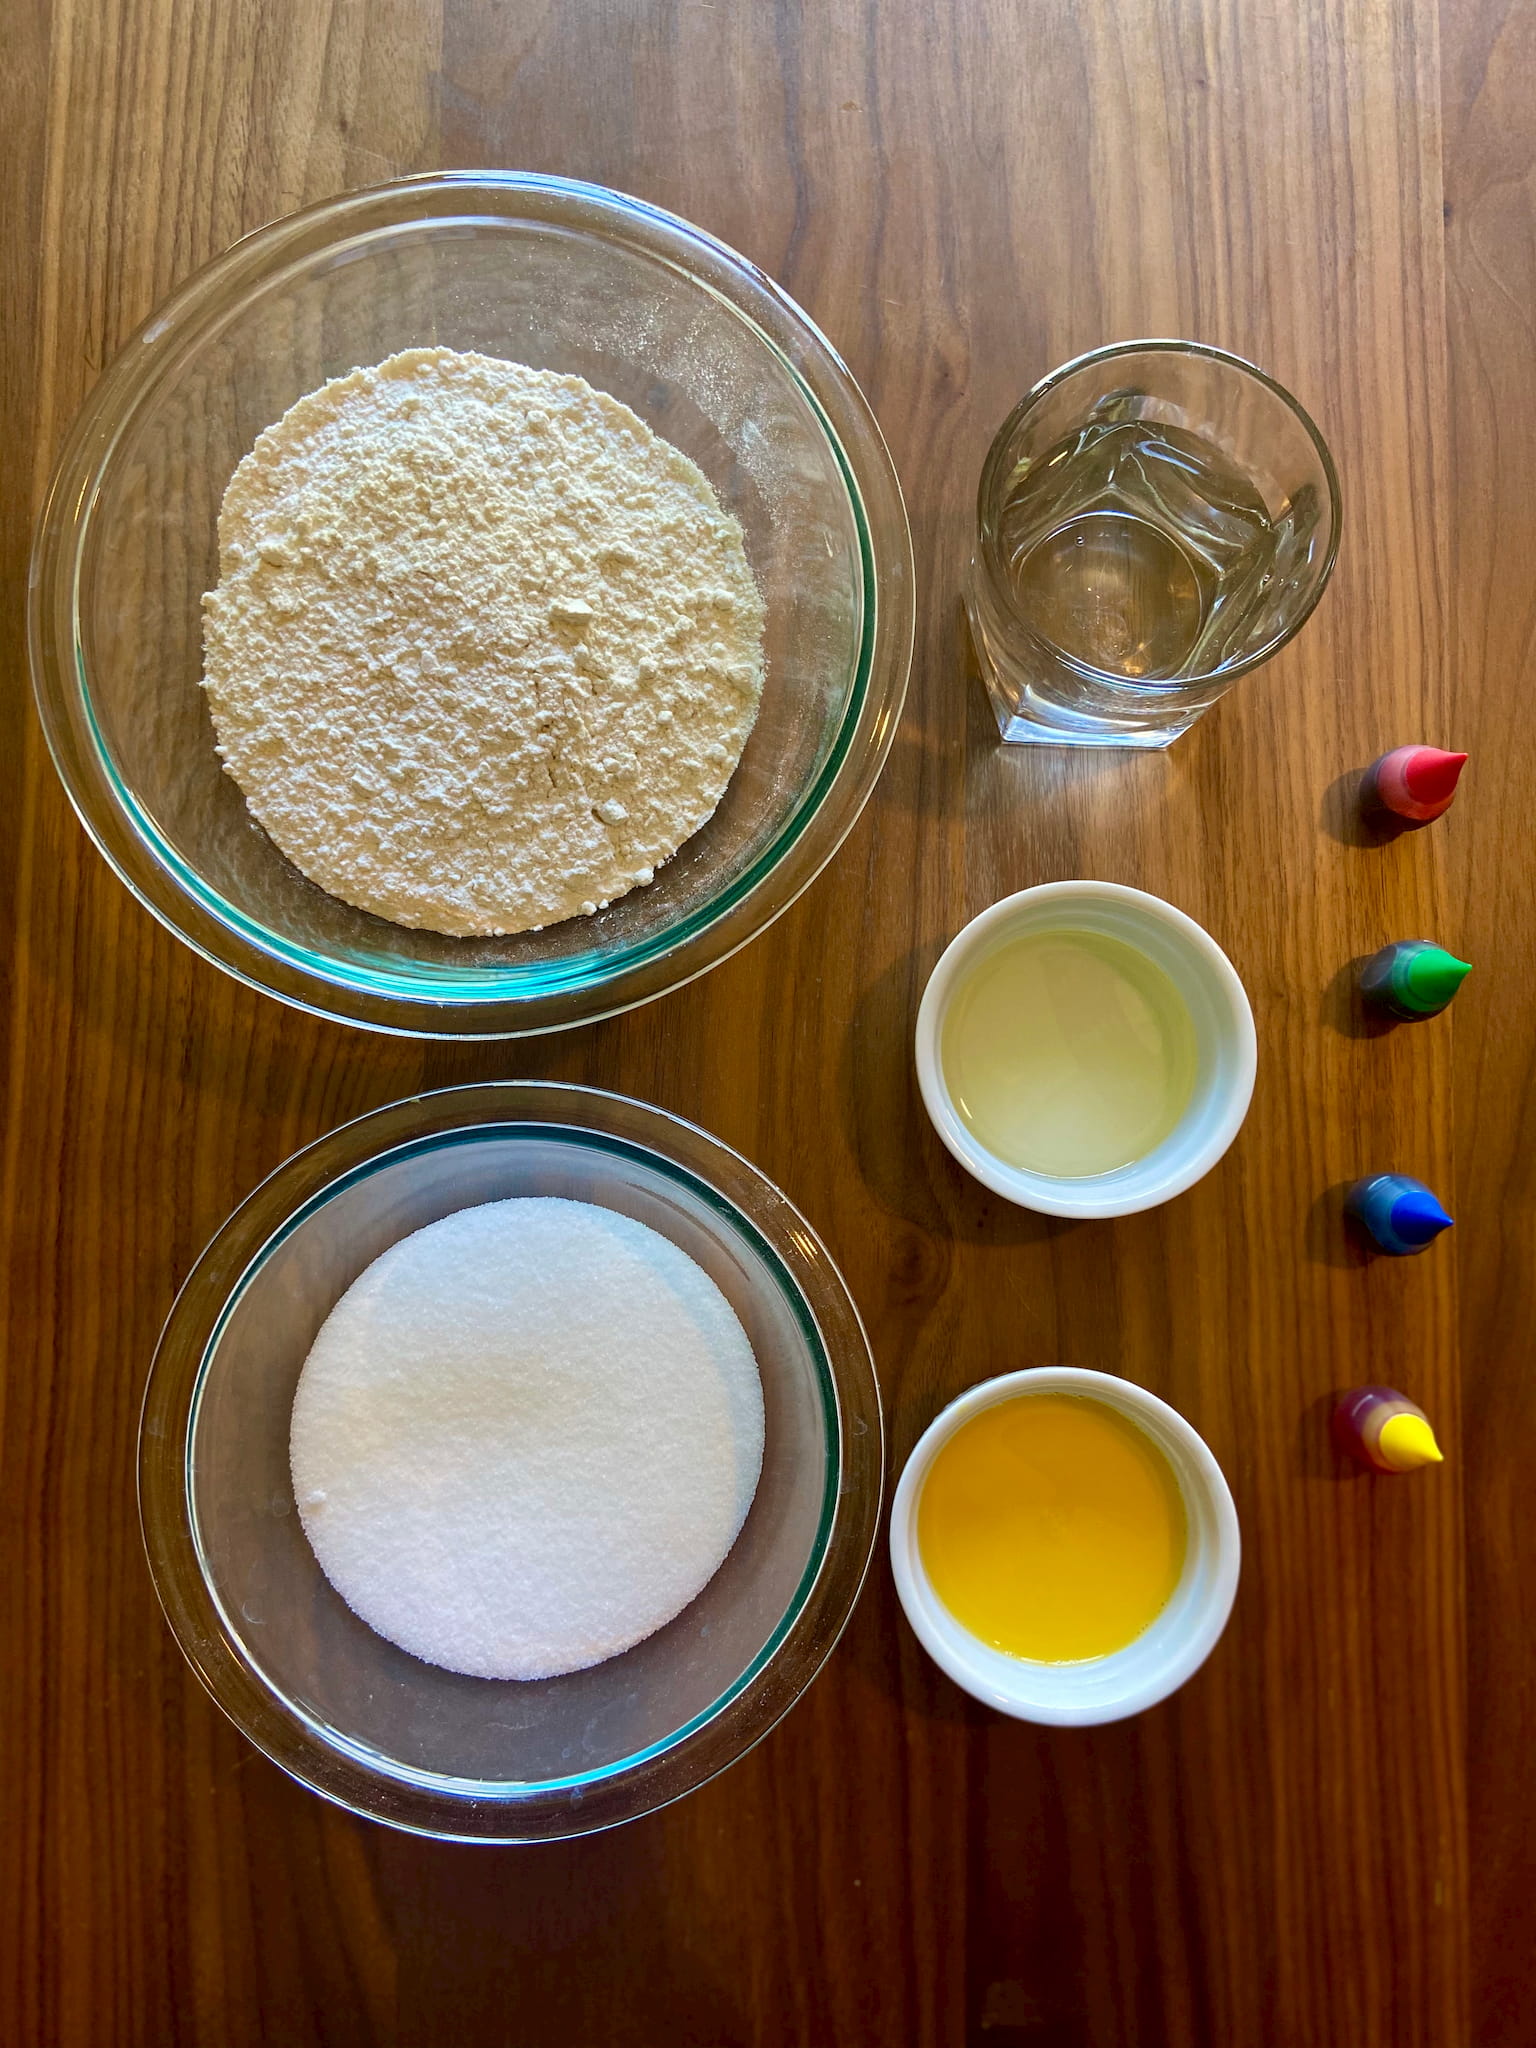
Materials:
- 2 cups flour
- 1 cup fine salt
- 2 tbsps. vegetable oil
- ¾ cup water
- Food coloring, optional
- Sculpting tools (toothpicks, popsicle sticks, rubber stamps, etc), optional
- Acrylic paint, optional
How to:
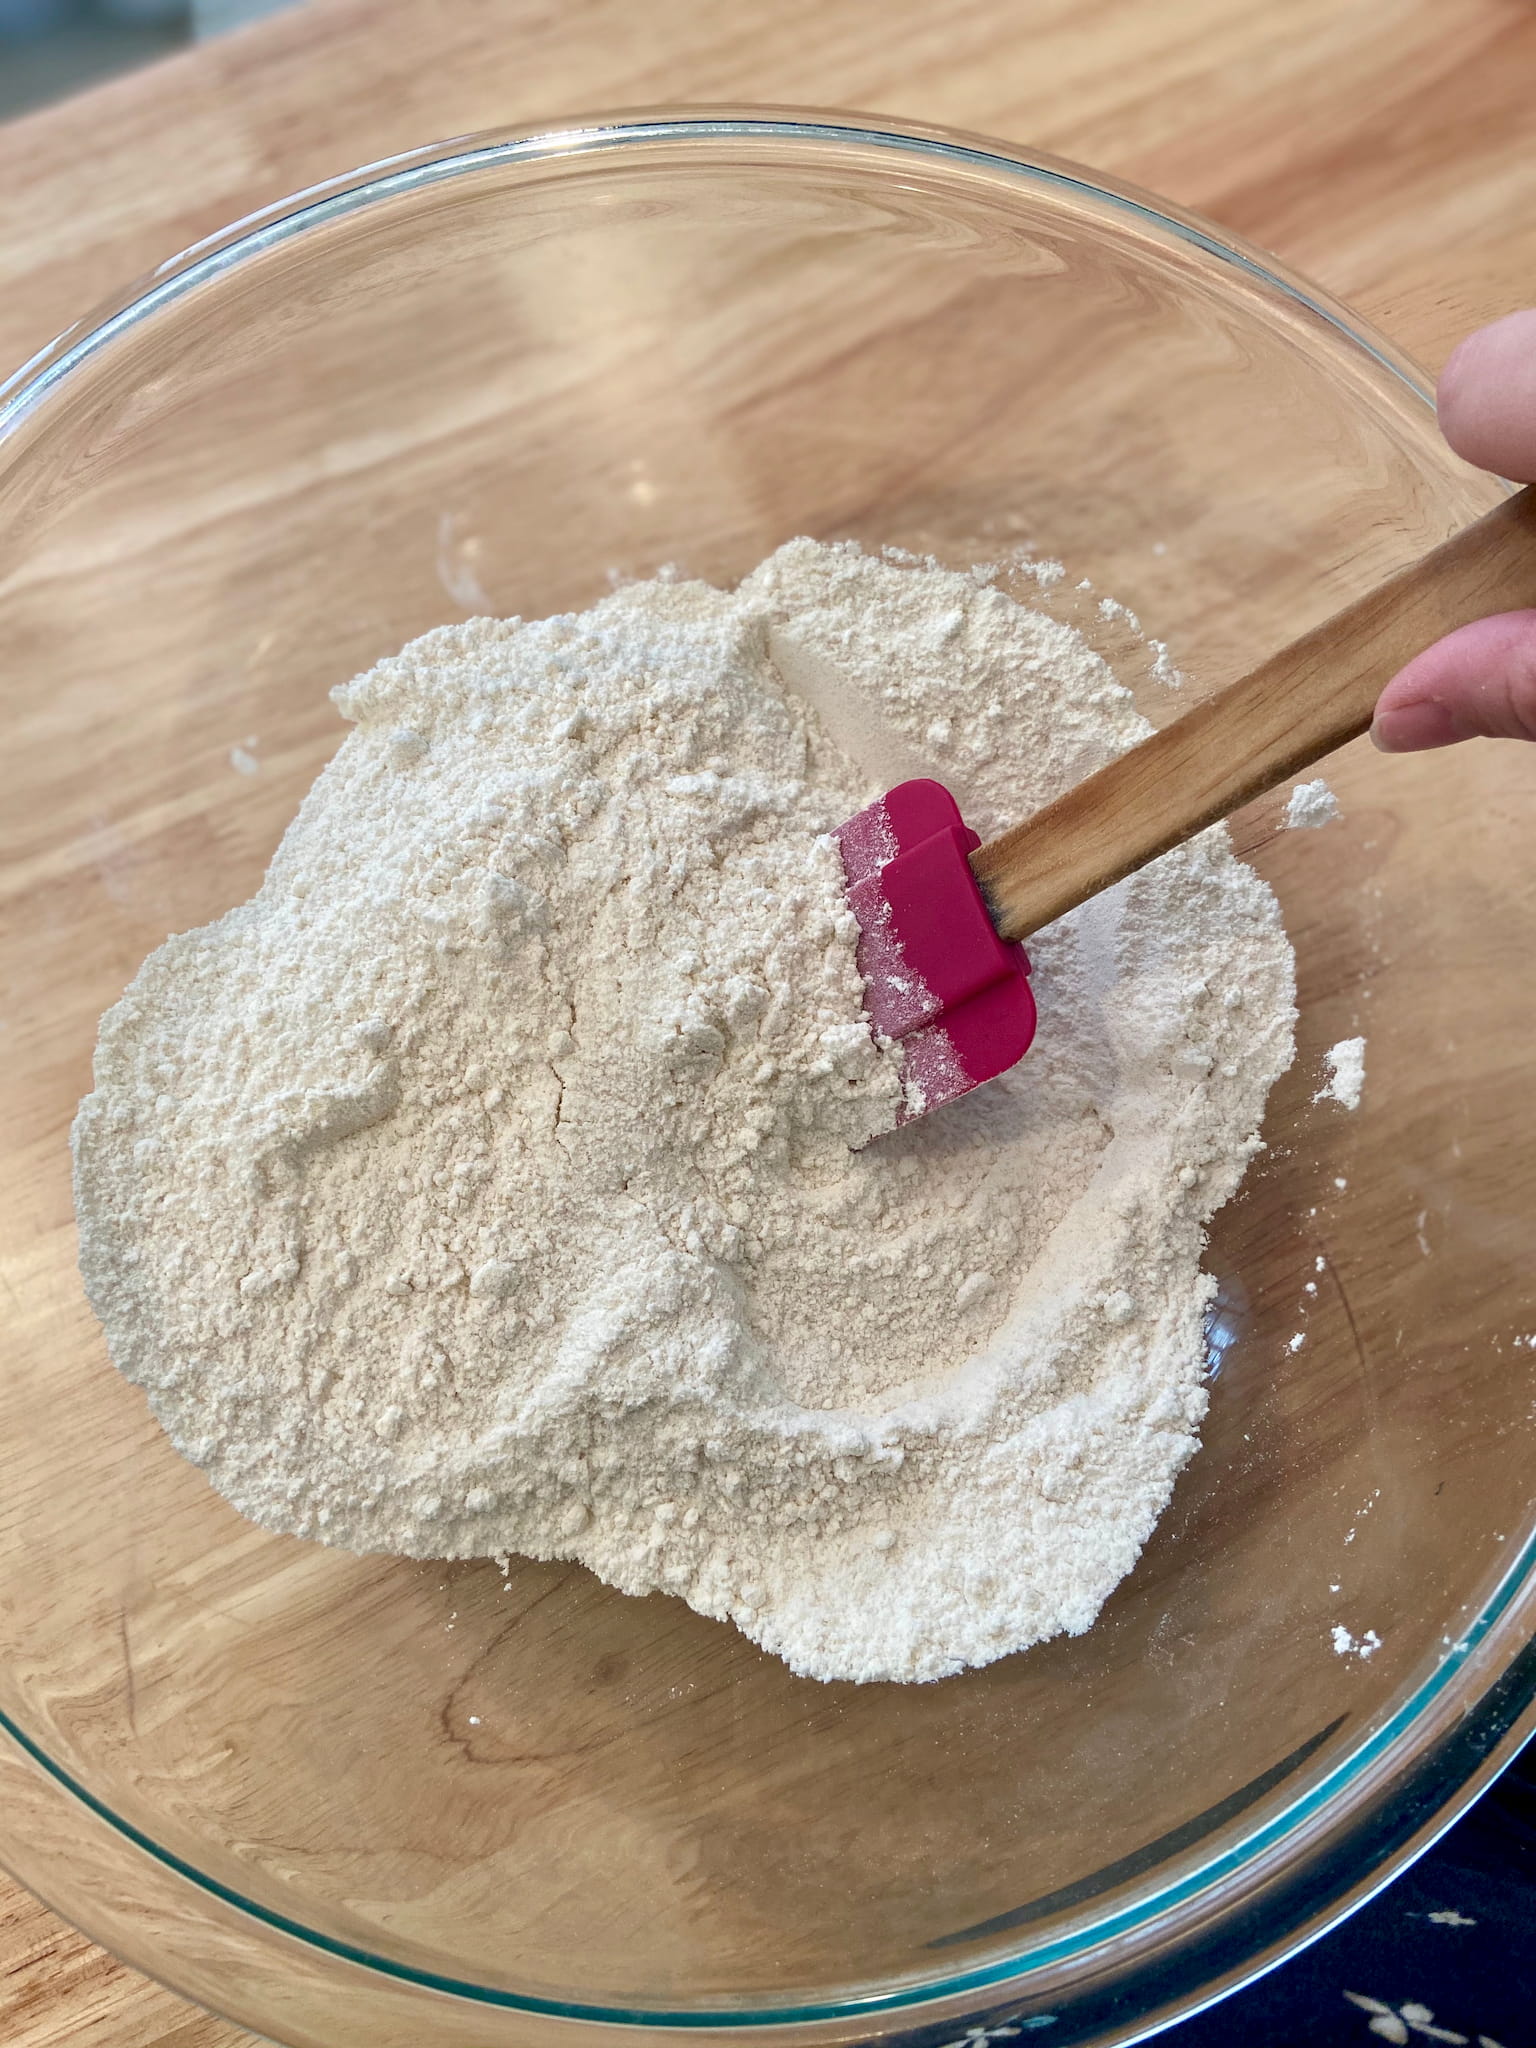
1 – In a large bowl, combine the flour and salt. Use fine salt if possible, as courser types will lead to granular dough.
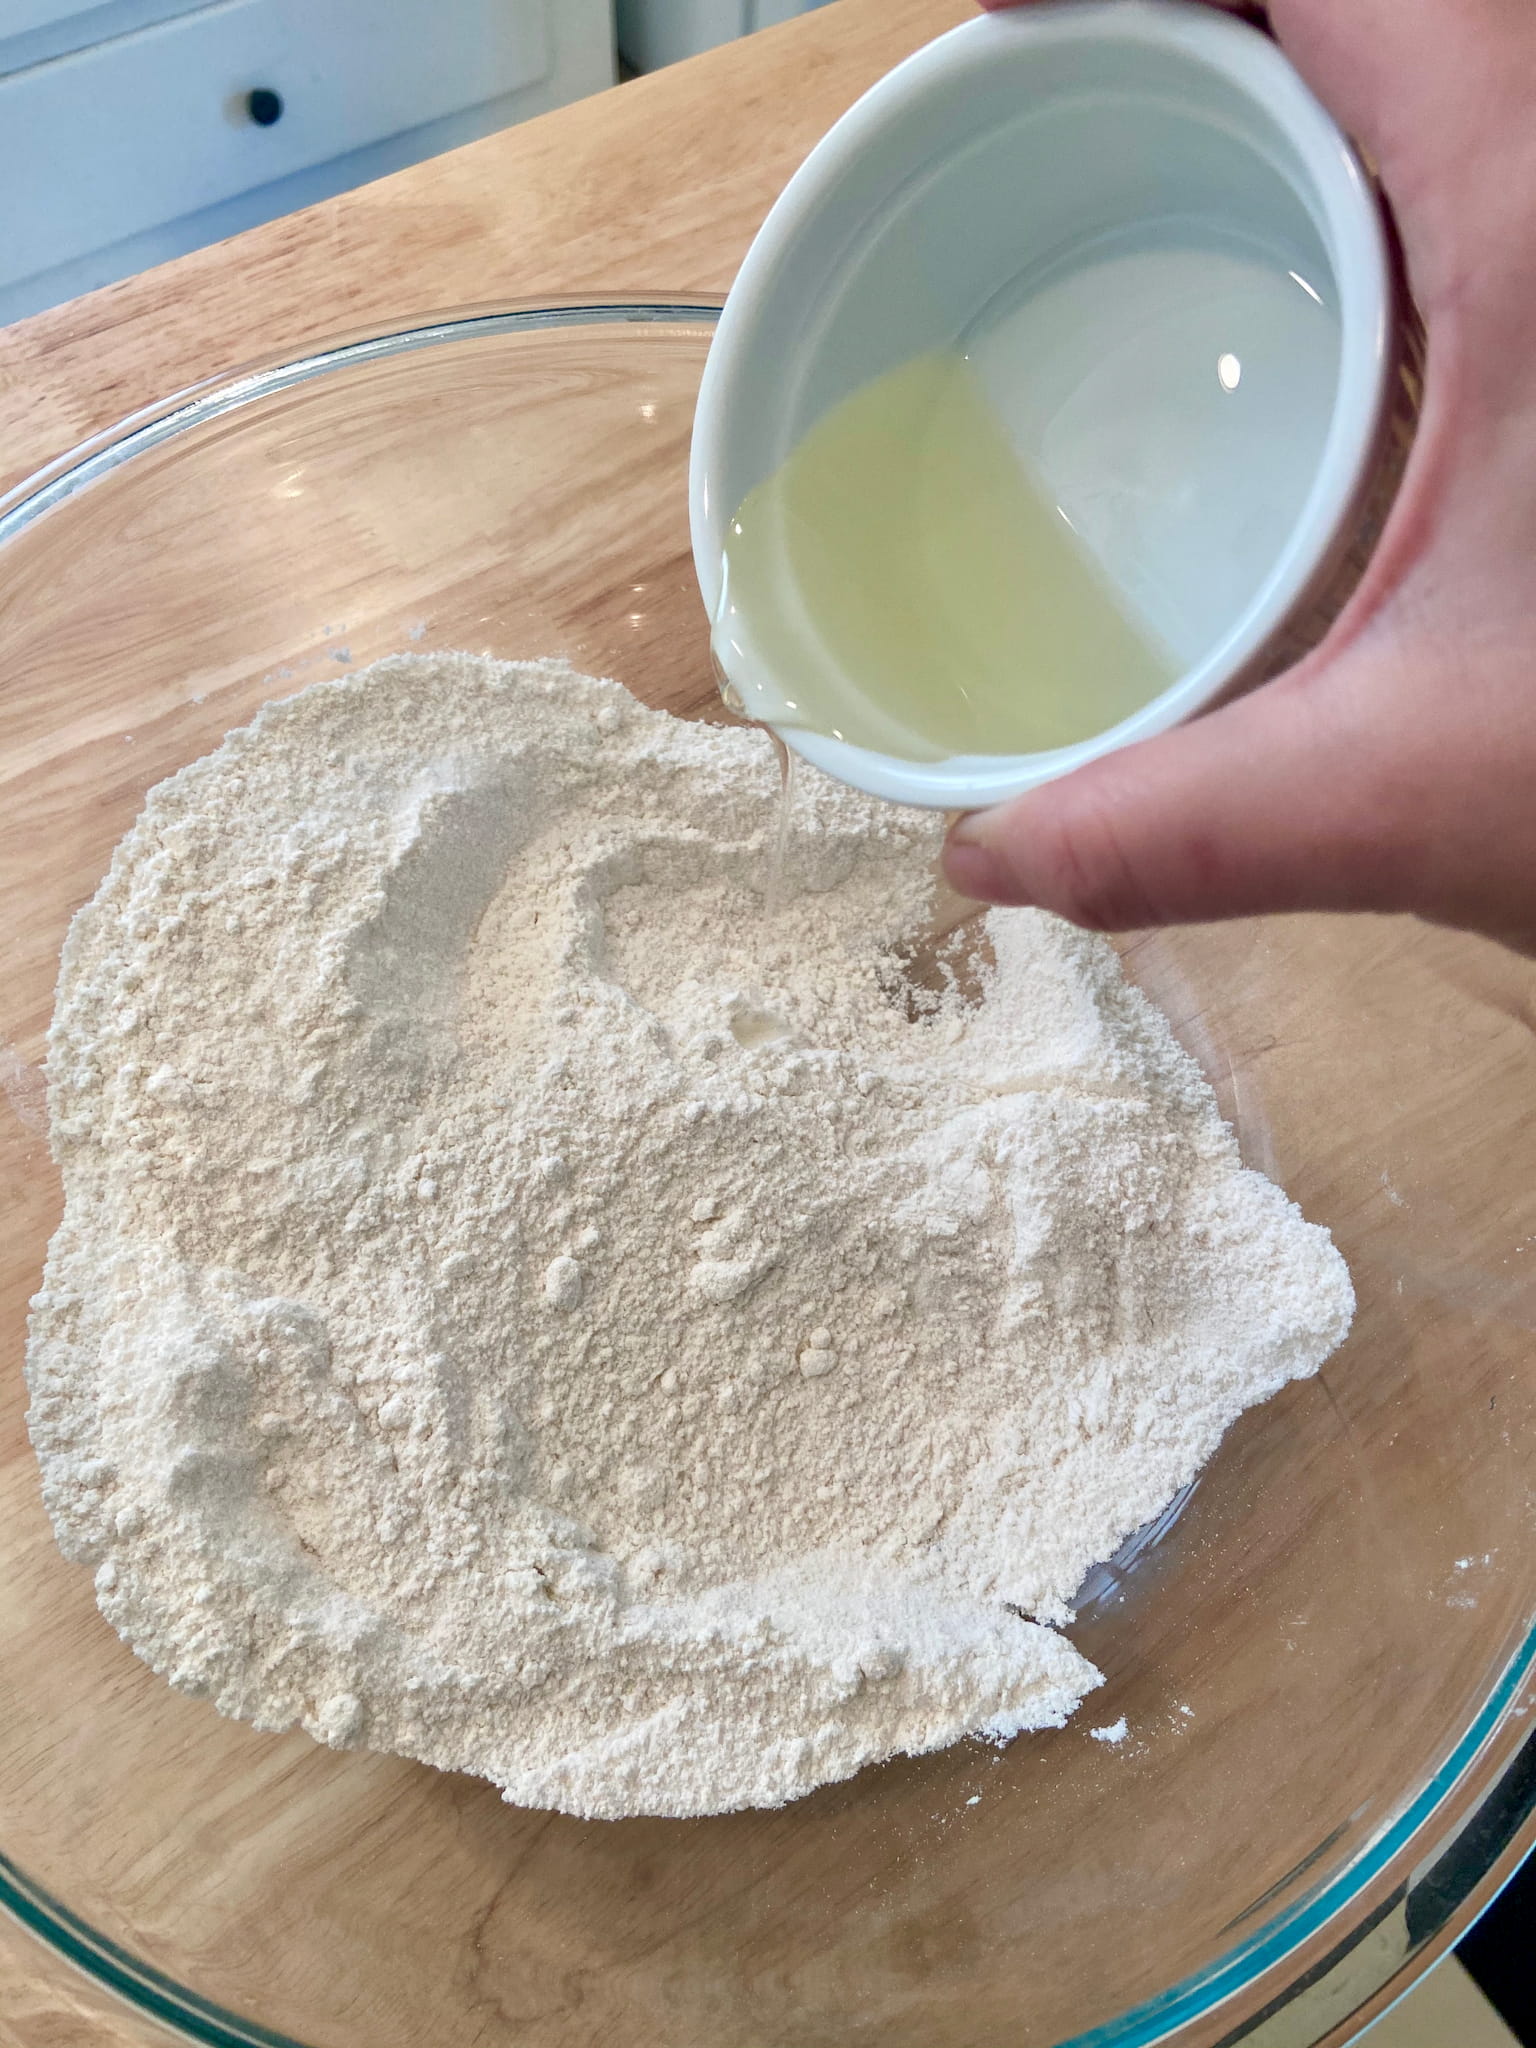
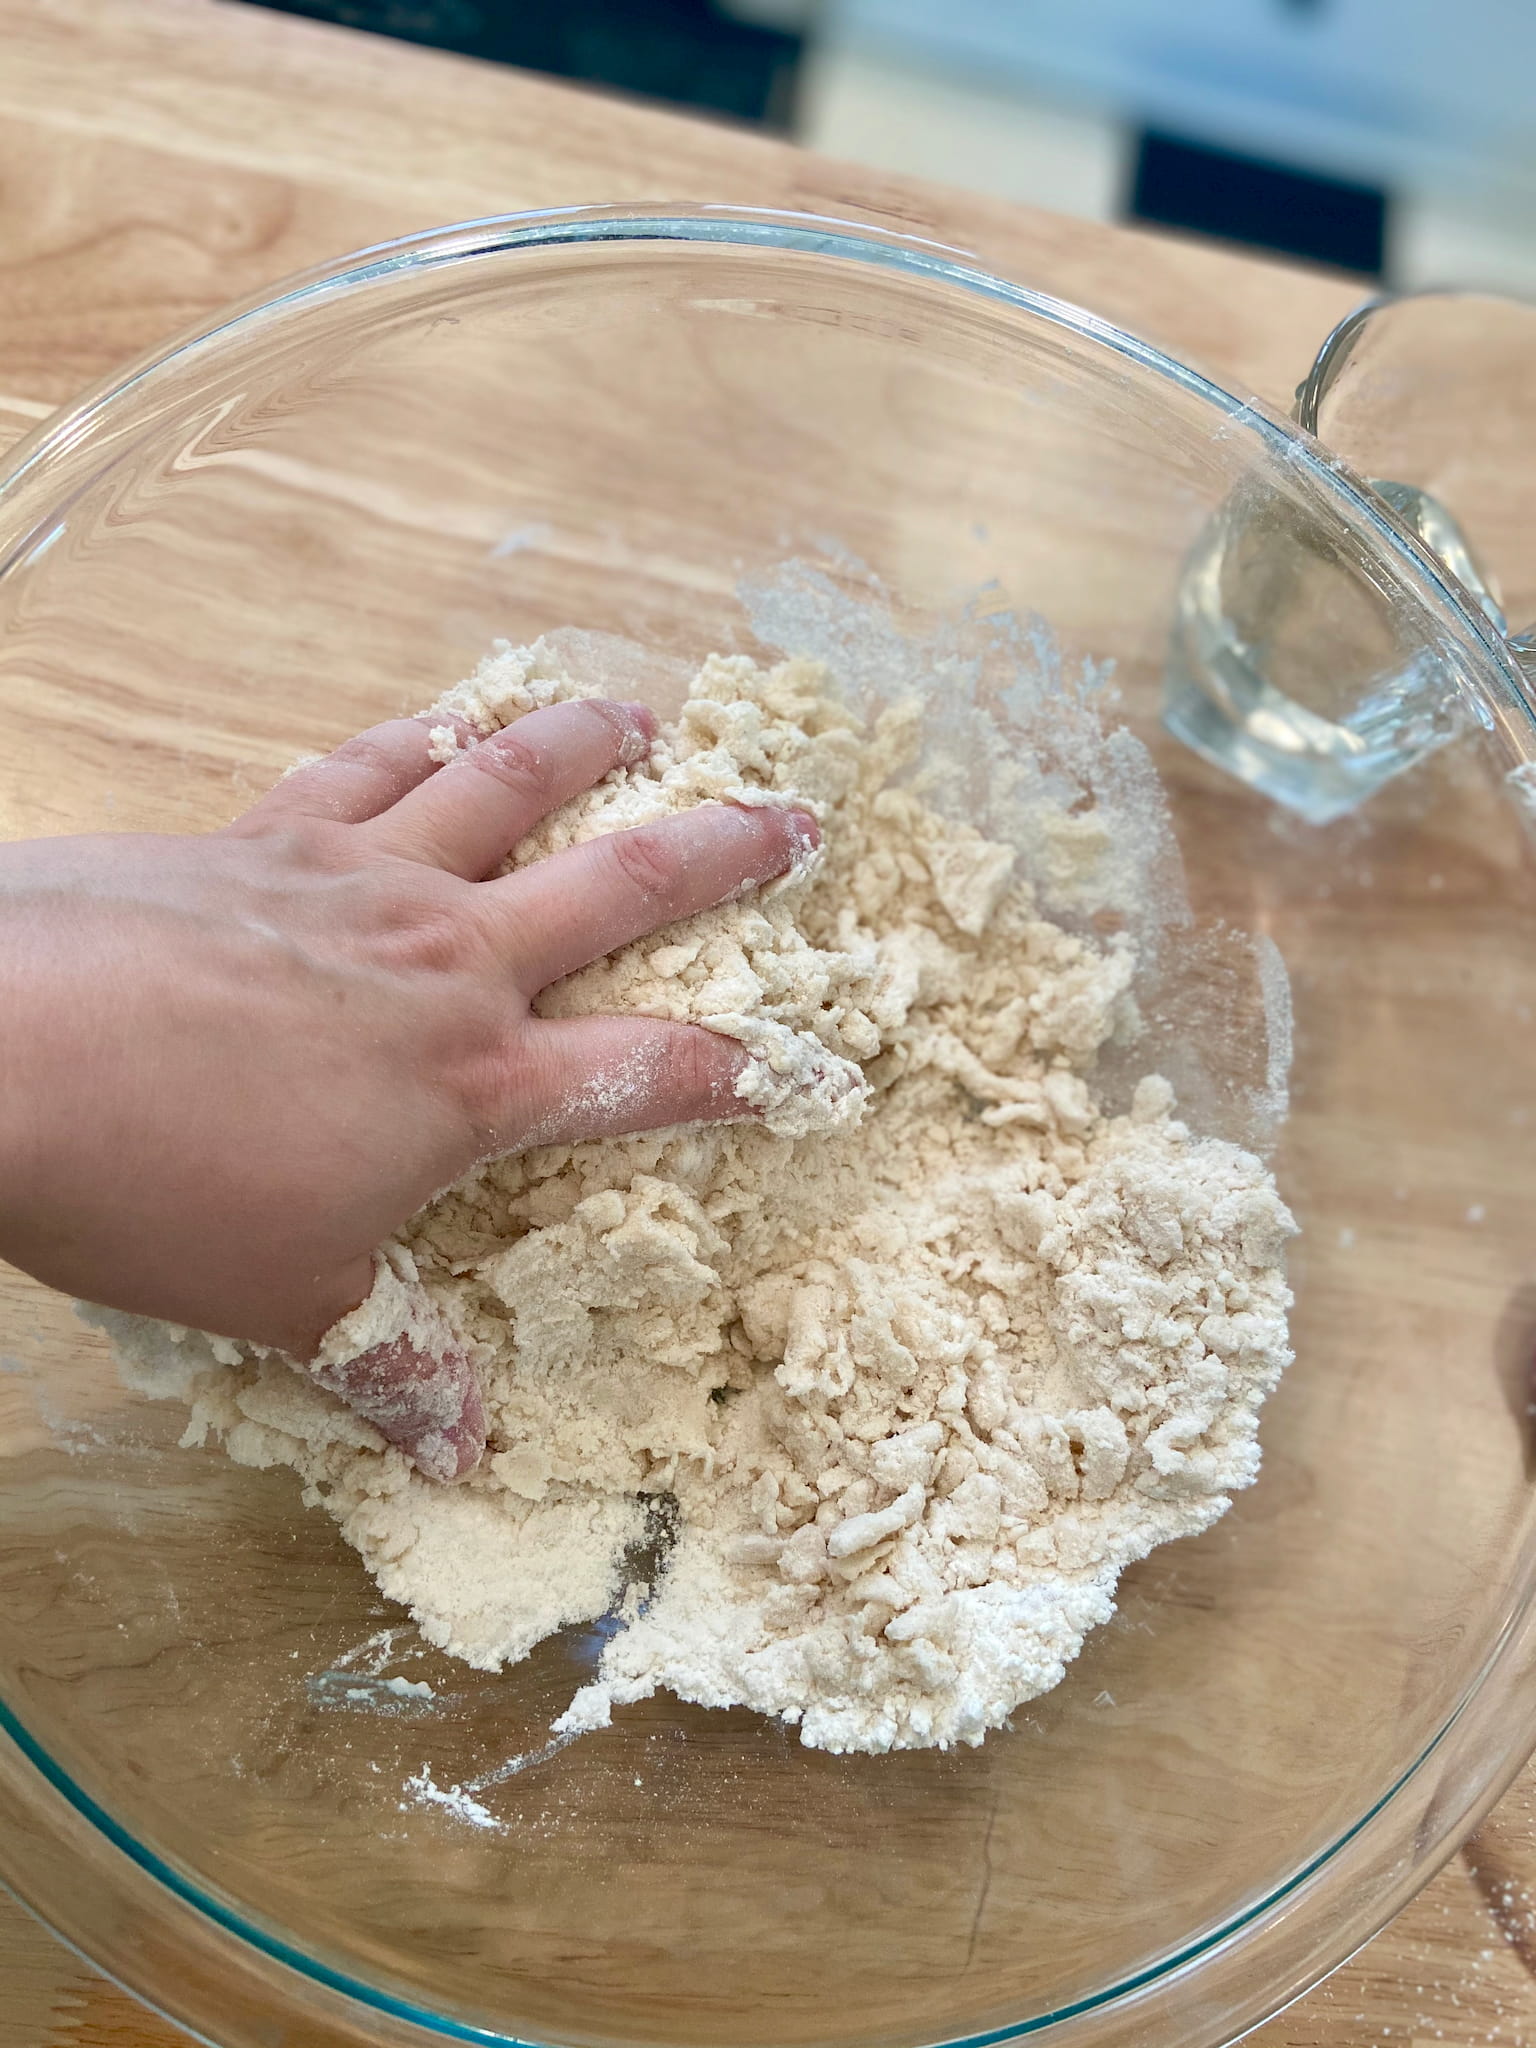
2 – Add the vegetable oil, then gradually mix in the water until you get a clay-like consistency. You may add another tablespoon or two of water if you need more.
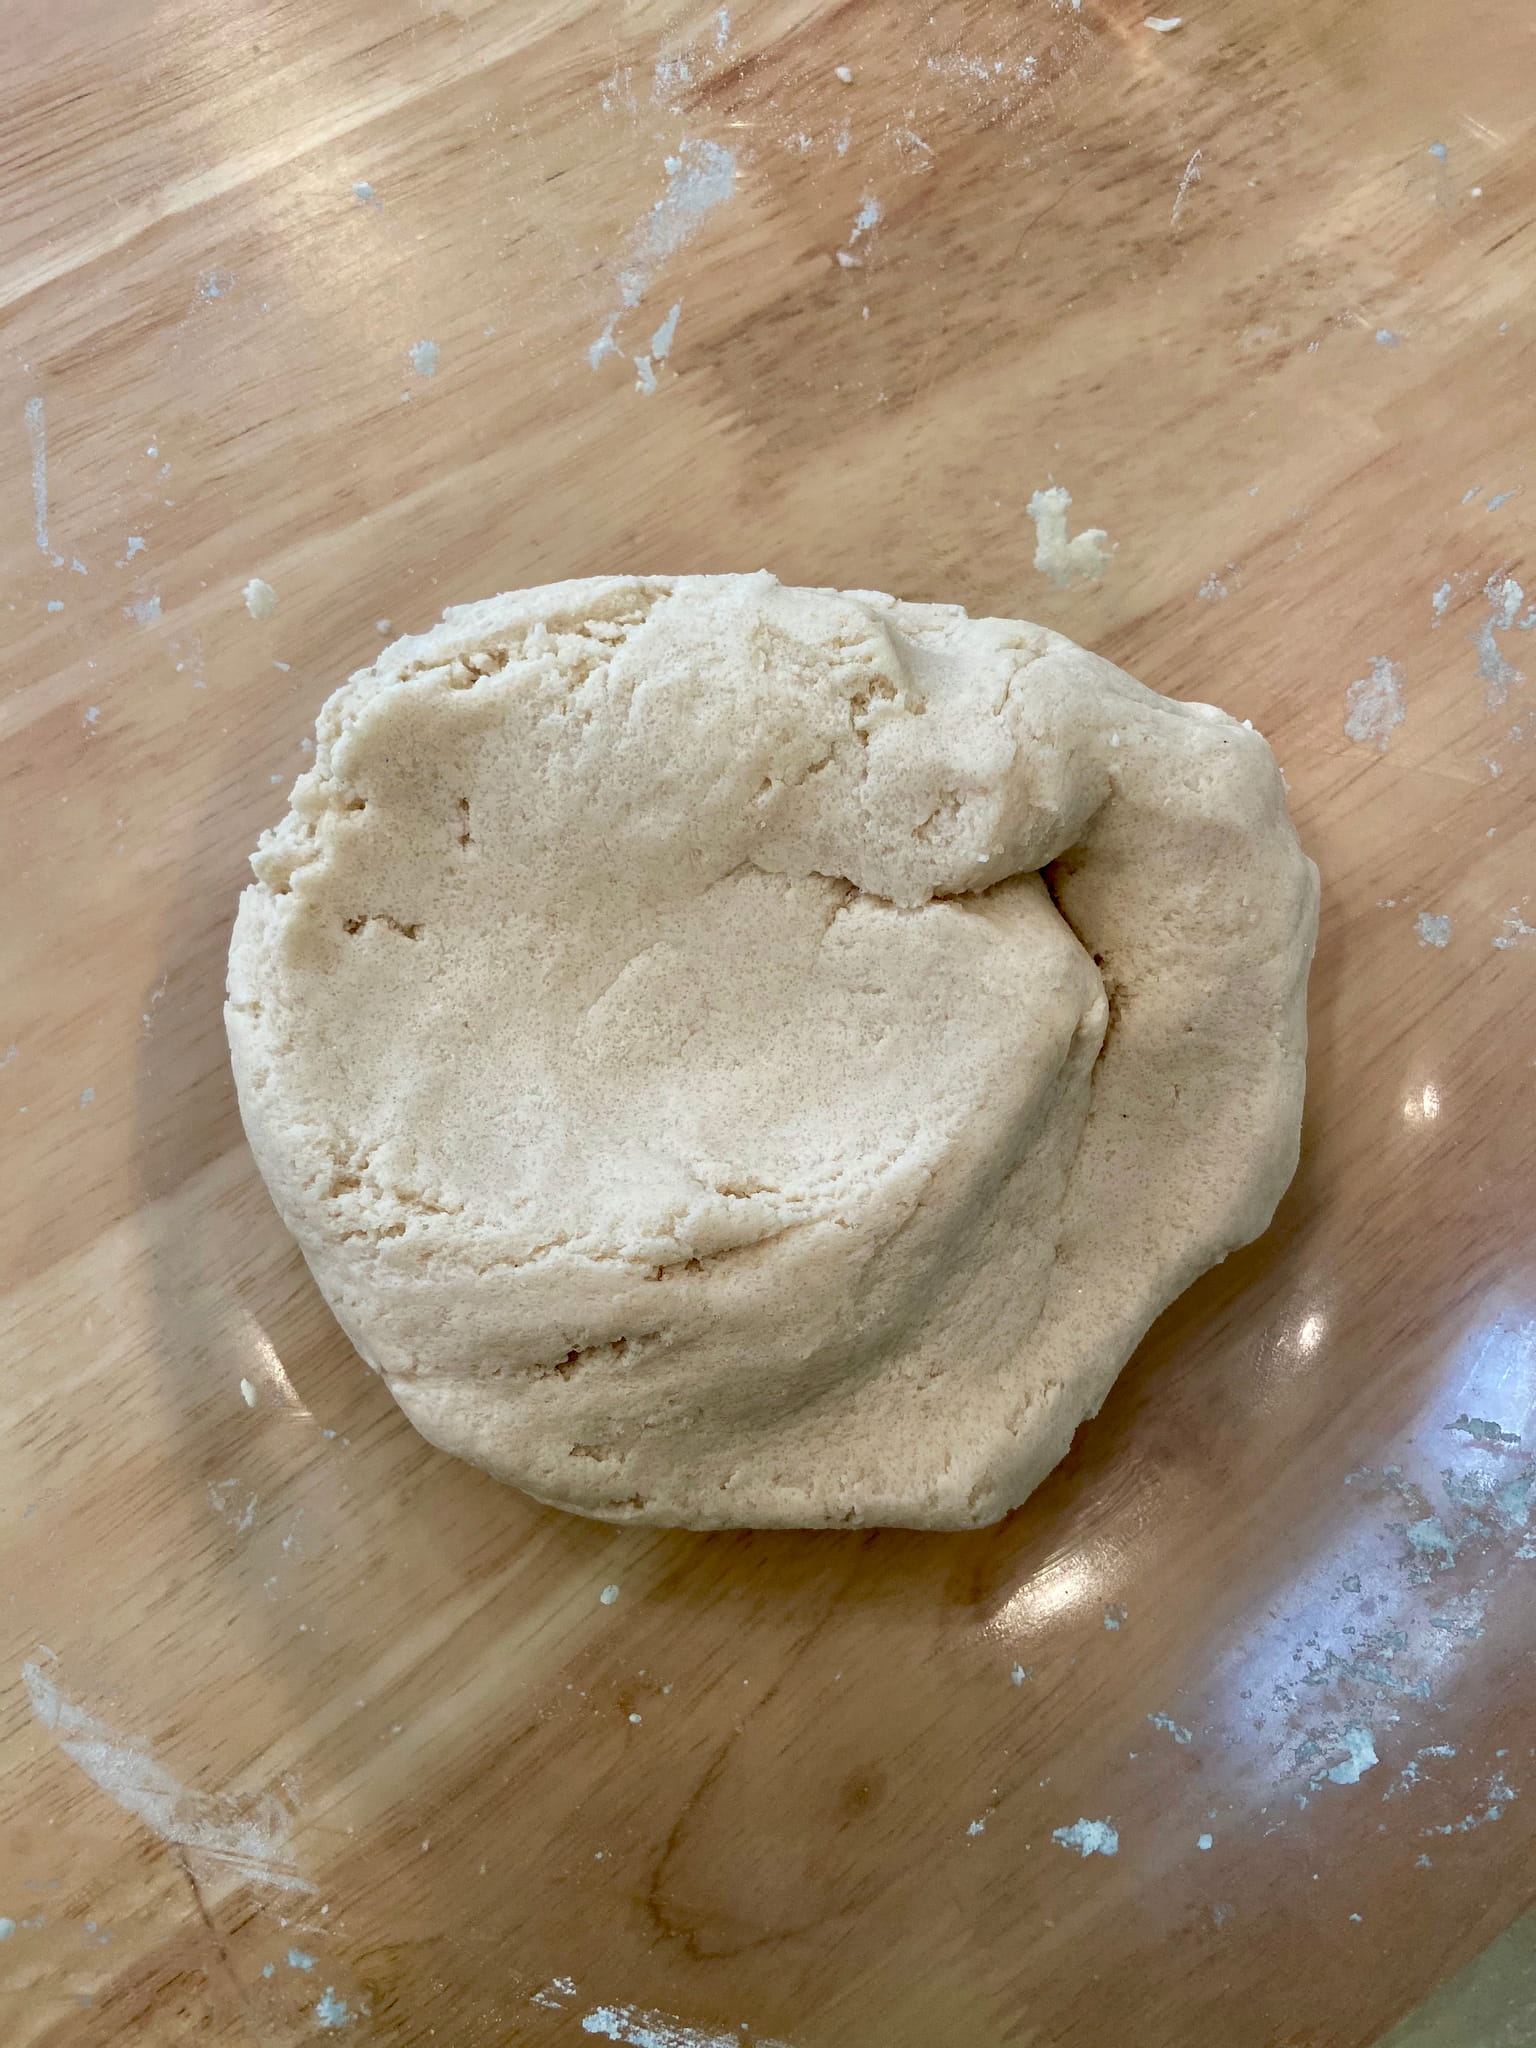
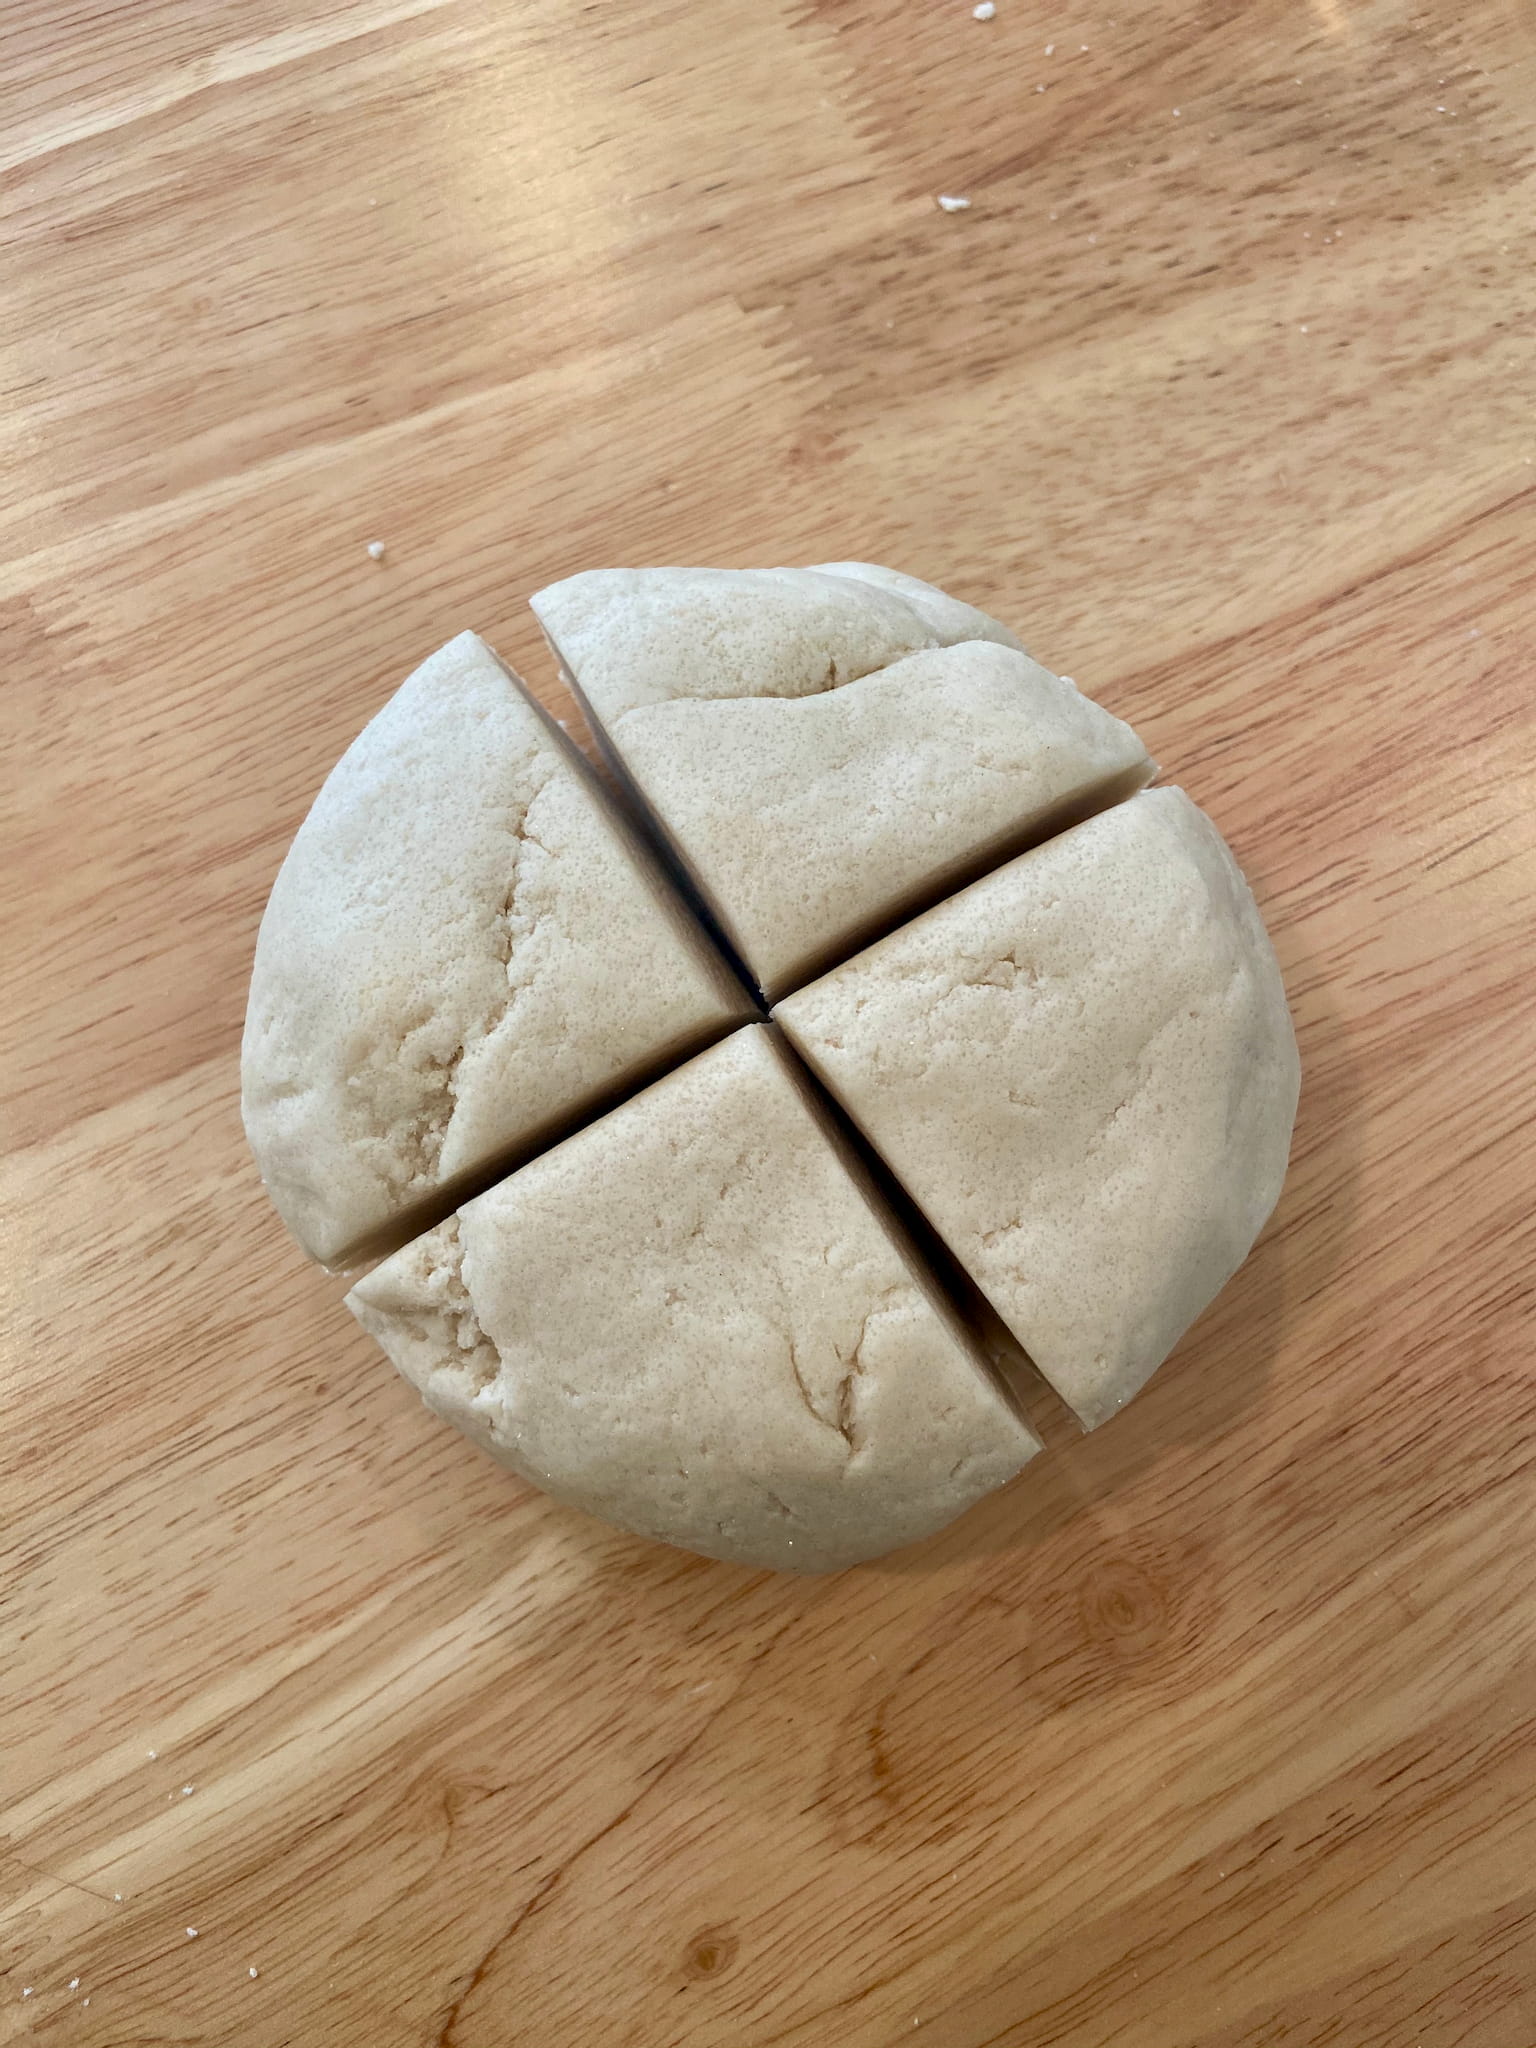
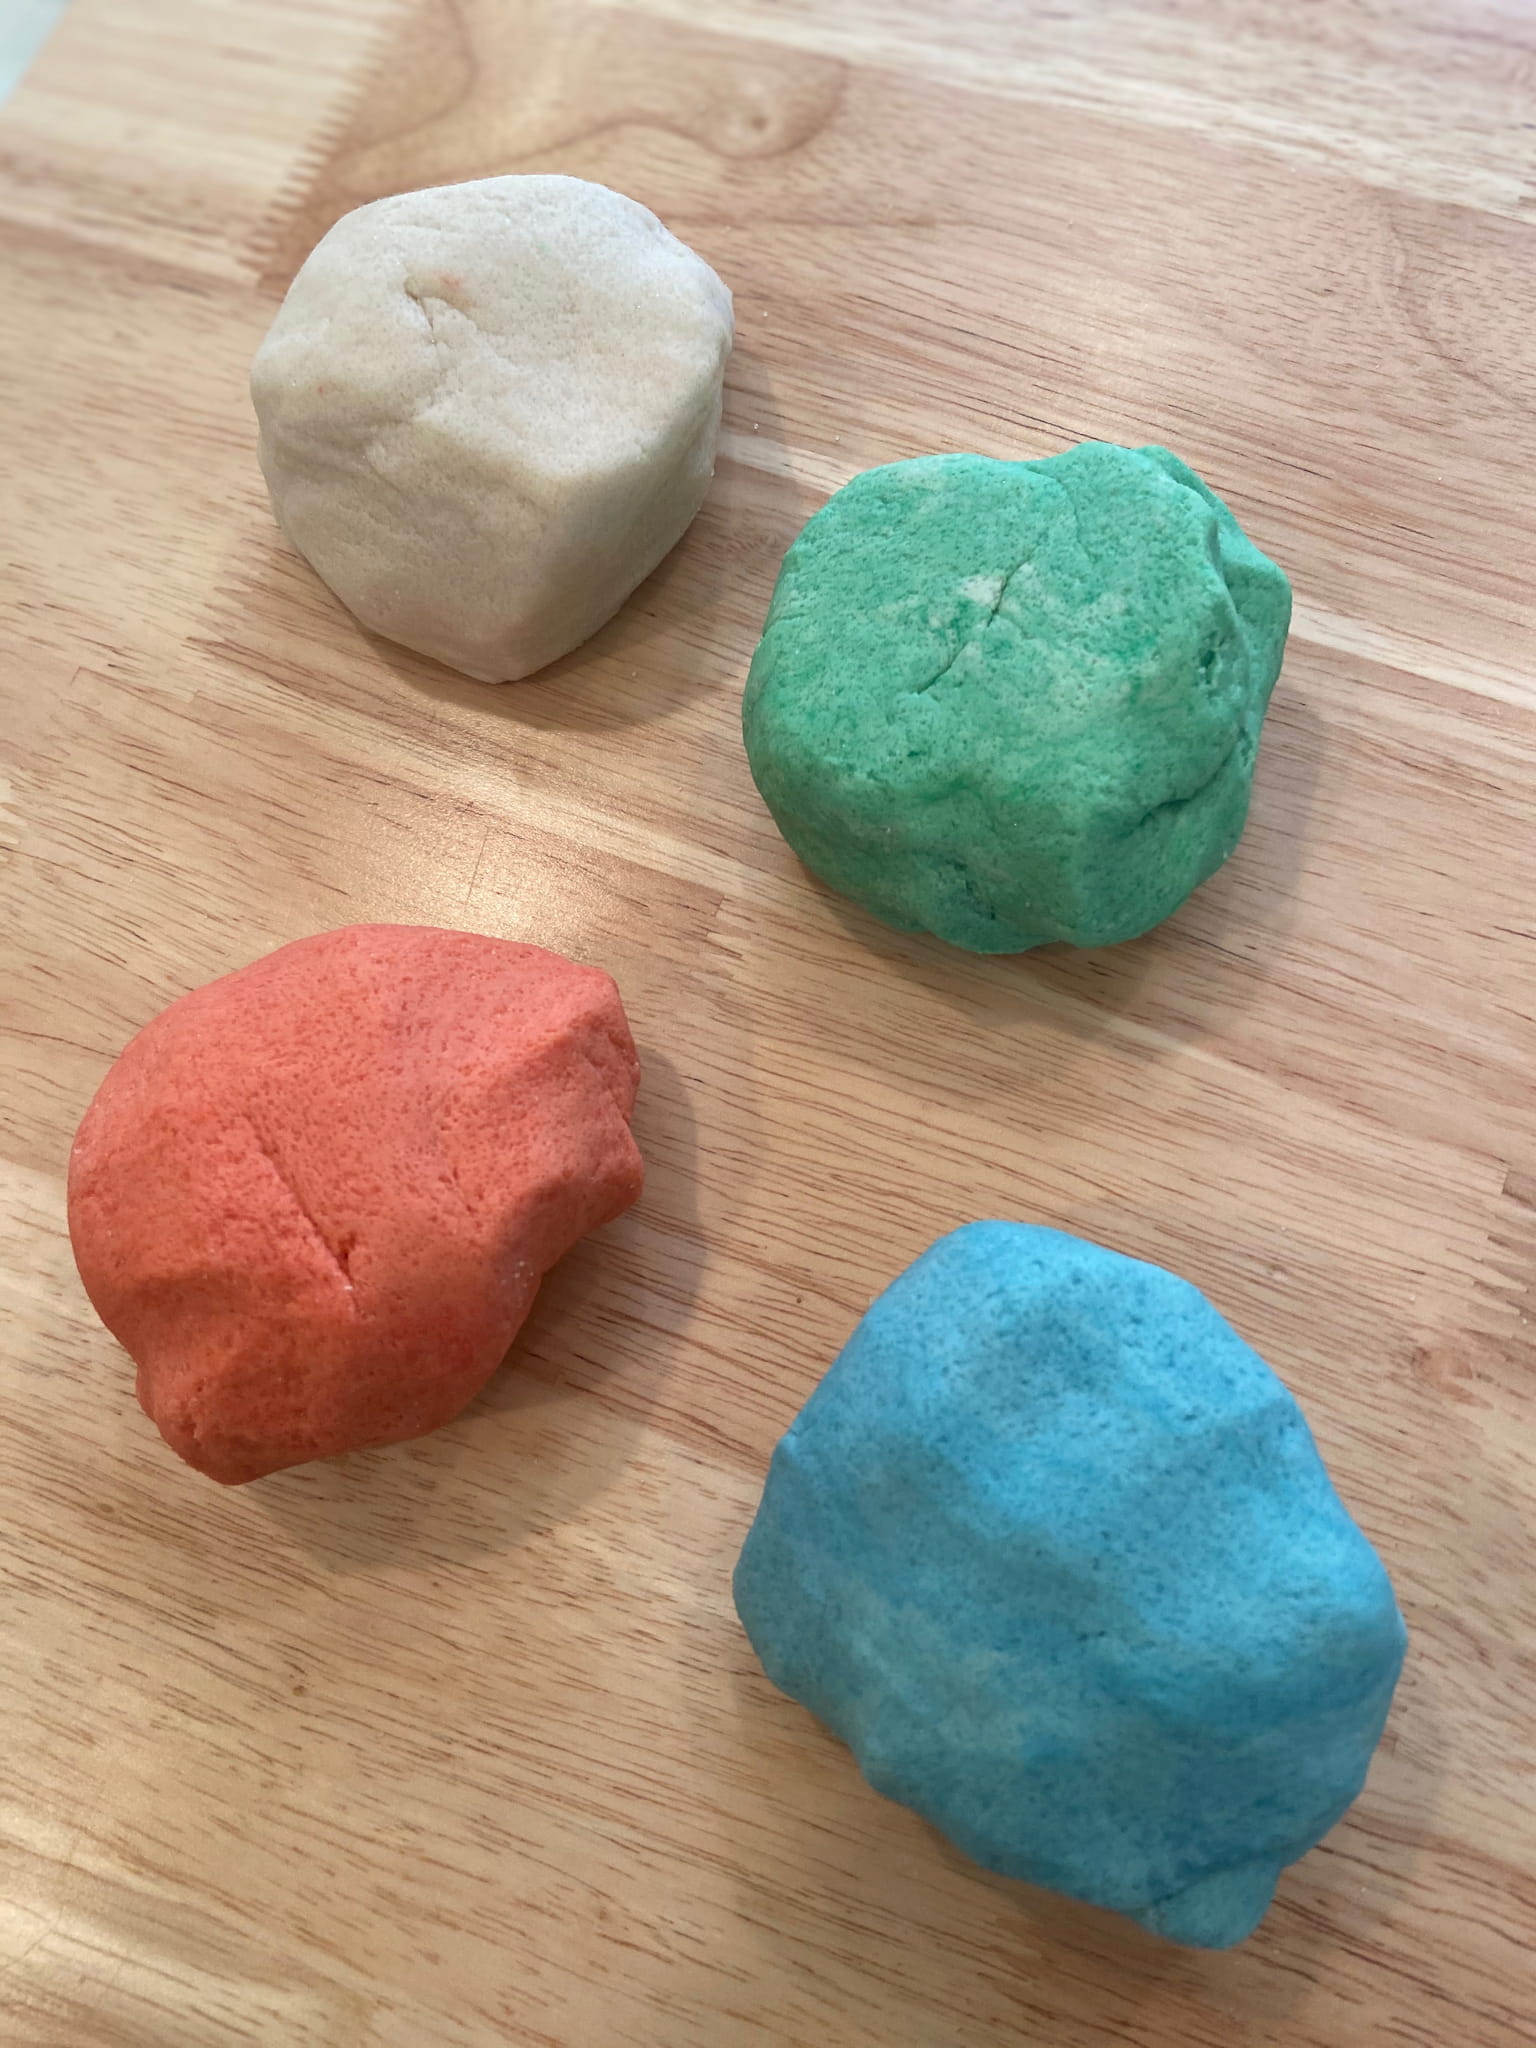
3 – If using food coloring, separate the dough into portions and add a drop or two of color to each portion, mixing well.
[TIP: Food coloring may stain your hands while working with the clay.]
4 – Once completely mixed, use the dough to sculpt your desired shapes or figures. You may craft a part of the body, a whole figure, or a variety of facial features with different expressions.
[TIP: Be careful not to make your sculptures too thick, or they may crack while baking.]
5 – Bake your finished sculptures in an oven set to 250º for one hour, making sure that they do not burn. Some sculptures may take more or less time, depending on how thick they are.
[TIP: For a golden look, you may brush egg yolk over your sculpted pieces before baking.]
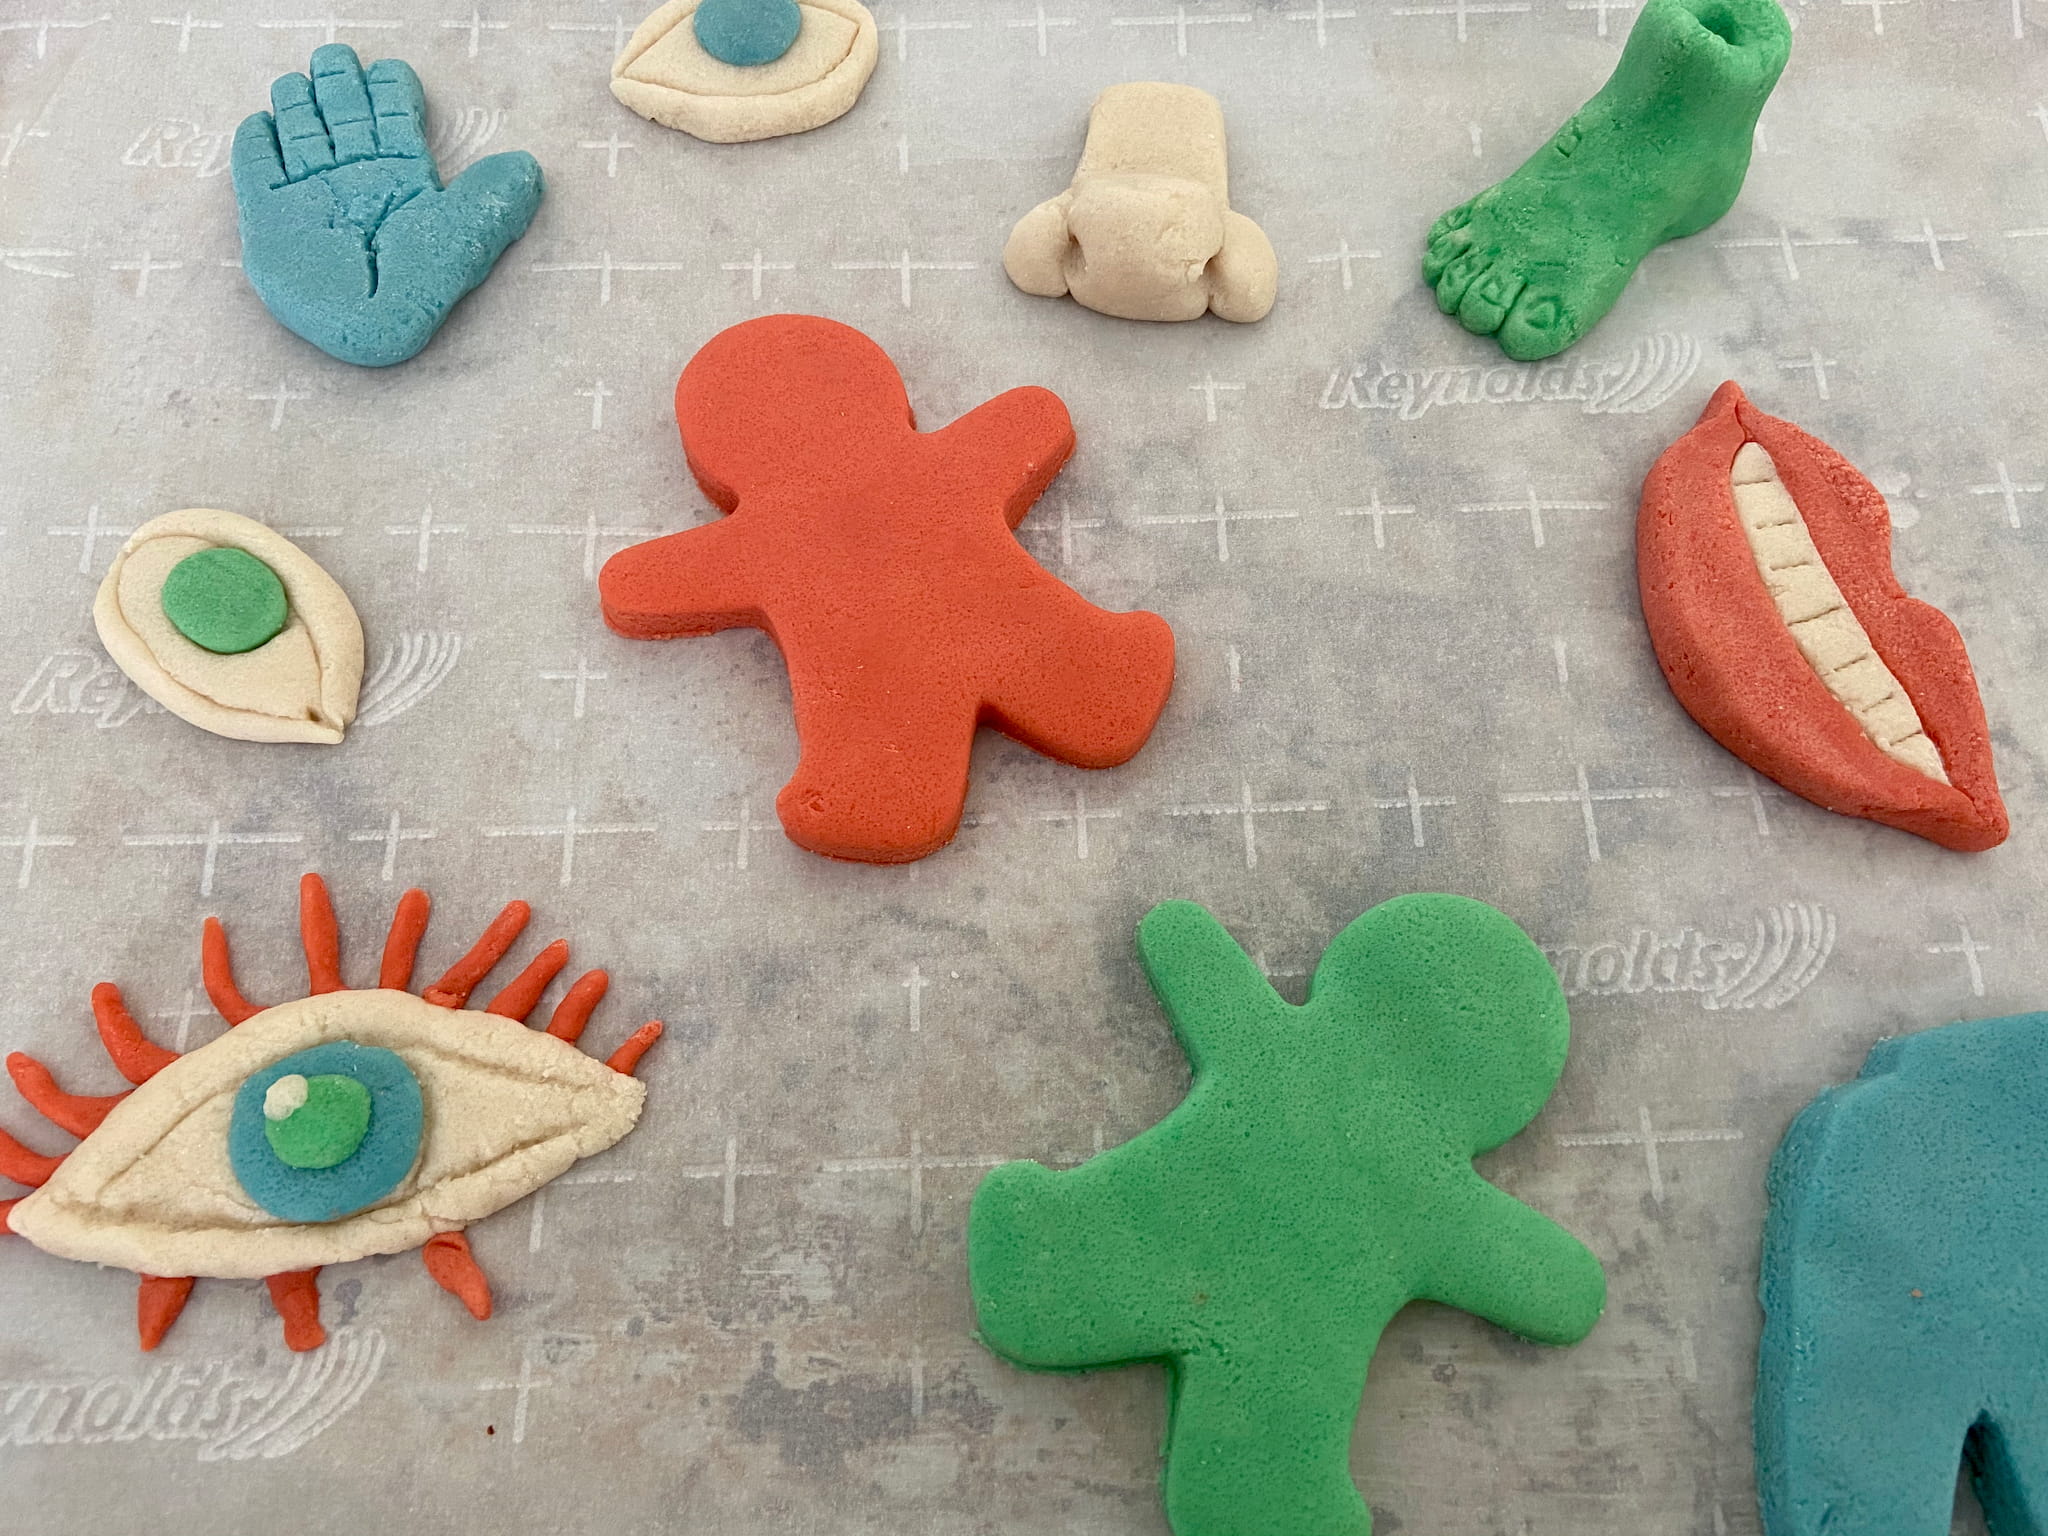
6 – Allow finished sculptures to cool completely, and decorate your sculptures with acrylic paint if you wish. Be creative and experiment with imagining a personality waiting to be crafted from clay!
